

Homemade biscuits are delicious (obviously) and they’re so easy to make. In fact, so many people buy the canned version without realizing that they already have all of the ingredients to make them from scratch in their pantry.
This post contains affiliate links. For more information see my full disclosure here.

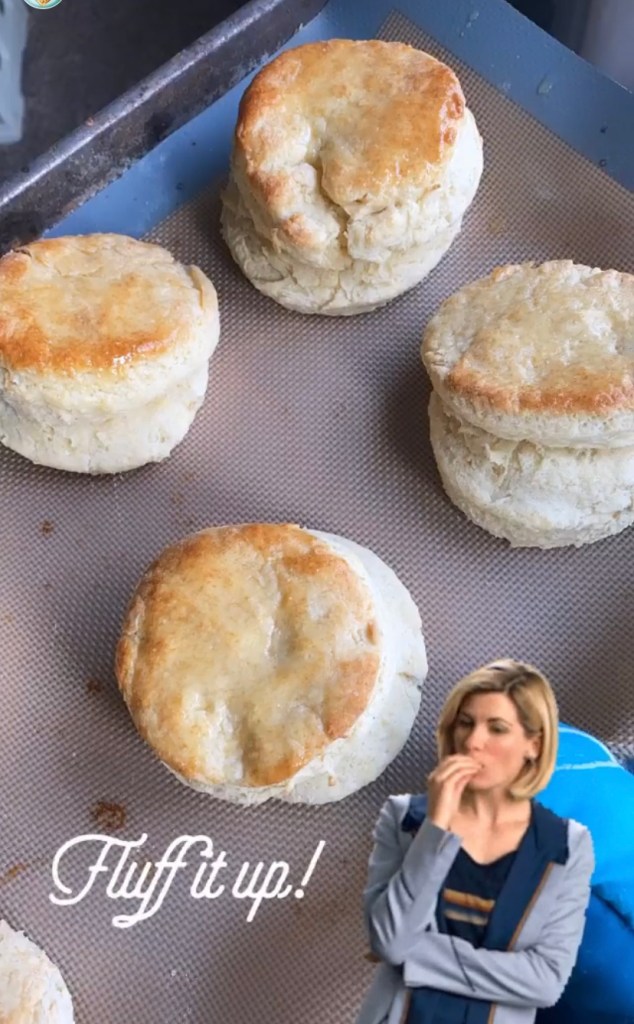
Making biscuits from scratch is super easy however there is ONE thing you have to be mindful of if you want those “picture perfect flaky biscuits”. And that is- KEEP THE BUTTER COLD!
The reason behind this is that cold butter going into a hot oven creates a steam as the butter melts. This steam is what creates the flaky, delicious layers in biscuits.
My culinary expert tips to you for making biscuits:
- 30 minutes before starting your biscuit recipe toss a stick of butter into the freezer. This will help it to stay cold during the preping process and also makes grating it easier.
- Find a grater/shredder and grate the butter into tiny pieces! The smaller the better! (However, you can also use a fork to cut the butter into the flour but the pieces won’t be as small)
- Do NOT over handle the dough! Just the heat from your hands is enough to start to melt the butter. So try to touch the dough as little as possible.
- Don’t worry if you don’t have a “biscuit cutter” to make the cicular shape! I used a mason jar (that i dipped into flour to prevent sticking) to create the circular shape.
- Stuffed Manicotti
- 2 ingredients pizza dough
- Air fryer roasted chickpeas
- 2 ingredient bagels
- Air fryer Salmon Bites
Ingredients:
- 2 cups all-purpose flour
- 1 Tablespoon baking powder
- 6 Tablespoons unsalted butter very cold, grated
- 3/4 cup whole milk
Directions:
This recipe yields 6 large biscuits and can be doubled for a dozen.
- For best results, chill your butter in the freezer for 30 minutes before beginning this recipe. It’s ideal that the butter is very cold for flaky biscuits. (See Tip 1)
- Preheat oven to 425F and line a baking sheet with nonstick parchment paper or a silicion baking sheet. Set aside.
- Combine flour and baking powder in a large bowl. Set aside.
- Remove butter from the freezer and use a grater to shred the butter into small pieces and then add to the flour mixture and stir. (See Tip 2)
- Combine the grated butter until the mixture resembles coarse crumbs.
- Add milk, use a wooden spoon or spatula to gently fold until combined (don’t over-work the dough).
- Transfer your biscuit dough to a well-floured surface and use your hands to gently work the dough together. If the dough is too sticky, add flour until it is manageable.
- Once the dough is cohesive, fold in half over itself and use your hands to gently flatten layers together. Rotate the dough 90 degrees and fold in half again, repeating this step 5-6 times but taking care to not overwork the dough. (See Tip 3)
- Roll the dough with a rolling pin (make sure to dust with flour to prevent sticking) to flatten the dough to 1″ thick and lightly dust a 2 3/4″ round biscuit cutter with flour.
- Making close cuts, press the biscuit cutter straight down into the dough and drop the biscuit onto your prepared baking sheet. (See Tip 4)
- Repeat until you have gotten as many biscuits as possible and place less than 1/2″ apart on baking sheet.
- Once you have gotten as many biscuits as possible out of the dough, gently re-work the dough to get out another biscuit or two until you have at least 6 biscuits.
- Bake on 425F for 12 minutes or until tops are beginning to just turn lightly golden brown.
- If desired, brush with melted salted butter immediately after removing from oven. Serve warm and enjoy.
The author of this site encourages you to consult a doctor before making any health changes, especially any changes related to a specific diagnosis or condition. No information on this site should be relied upon to determine diet, make a medical diagnosis, or determine treatment for a medical condition. The information on this website is not intended to replace a one-on-one relationship with a qualified health care professional and is not intended as medical advice. For more information please read our full disclaimer here.
